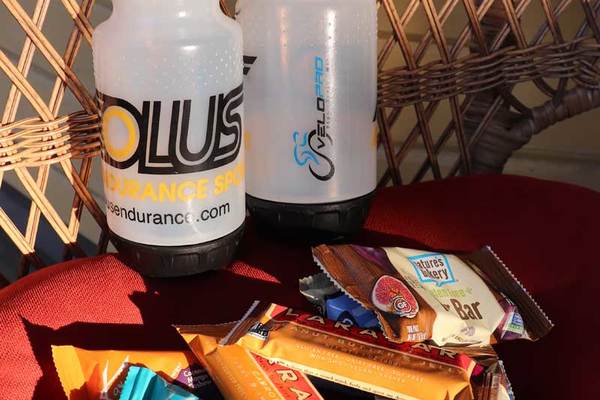
Short rides don't require extra fuel beyond normal meals. However, when you're training for hours at a time, it's important to stay fueled. This not only helps you better your training effort during your workout, but then helps with recovery, preparing you for the next day. A good rule of thumb is if you are riding two or more hours, bring some fuel and eat something every 40-45 minutes. Shoot for healthy, quickly metabolized carbs to refresh your glycogen stores. Gels and bars will do in a pinch, but real food is always better. Peanut butter and honey squares anyone?
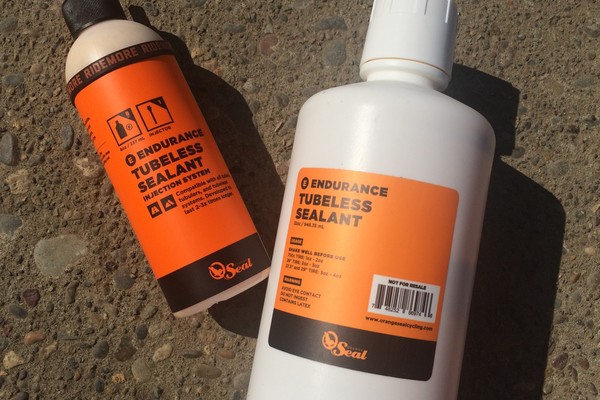
Eliminating tubes is a relatively recent practice in cycling, though other vehicles abandoned tubes long ago. When used correctly, a tubeless setup rolls faster and more comfortably while reducing the chances of blowouts. If your tire is punctured, a few spins of the wheel will help the sealant inside plug the leak and you are on your way. Most newer bike wheels will take tubeless tires. For a modest investment, you can get maximum peace of mind. Check with your local bike shop to set you up. Once you learn the ropes, you can do it yourself.
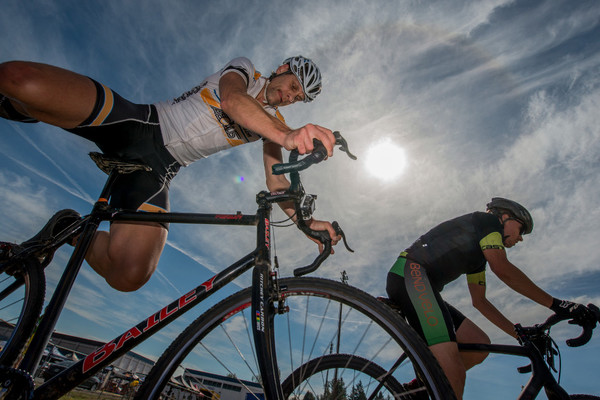
Braking in turns is a common beginner mistake. At speed, this causes your bike to push towards the outside of the turn rather than carve around it. In a group ride or race, you can actually cause a a crash, if you suddenly brake in a turn. So, practice descending by braking before you get to corners, then gradually letting go as you begin to lean into the corner.
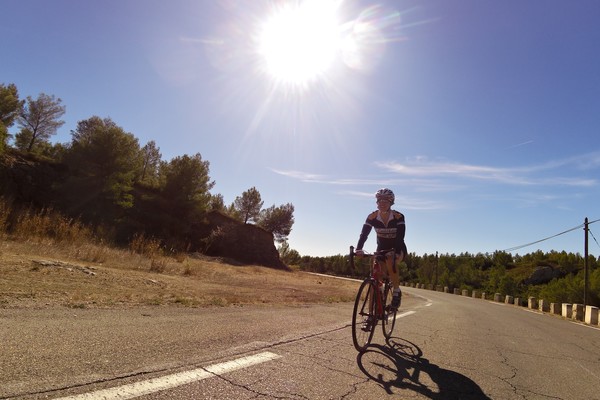
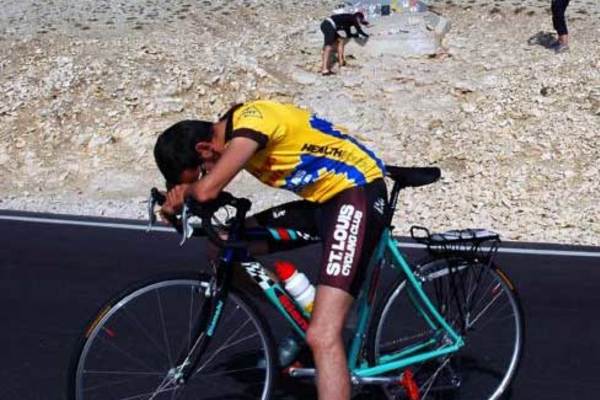
In some parts of the world, summer means relentless weeks of 90+ degrees heat. Riding in hot weather can be tough, but It is possible to acclimatize yourself to these conditions. Acclimatization teaches your body to increase your blood volume, so you can produce more sweat. It also encourages you to sweat sooner in a workout, so you don't overheat. The goal is to increase your heat tolerance so that your performance stays the same regardless of the temperature increase. Heat acclimatization takes between 12-18 days of regular riding 4-5 times a week. You should aim for at least 40-60 minutes a workout. While you acclimatize pay careful attention to hydration. If you ride longer than an hour, consider filling your second water bottle with a hydration drink formulated to replace sodium and potassium. It's the sodium in your sweat that encourages fast evaporation for cooling. Also, carefully monitor your heart rate. If you're heart rate is higher than normal and doesn't recover at your regular rate, slow down and consider ending your workout early before you overheat. You will notice improvements in just a few rides.
Aero? Check. Ventilation? Sweet design and color? Check! Safety? While not yet a standard the new technology for bike helmets is MIPs (Multi Directional Impact Protection System). Modern helmets do a good job of reducing linear force impacts. Helmets with MIPS also help reduce rotational force impact. Wearing a helmet is like insurance and helmets with MIPS gives you double coverage. Studies show that helmets with MIPS reduces the strain of impact on the brain by 13-37%. Giro, Kask, Bell and many others are now offering great lids with this tech. If you don't have one yet, it is time to upgrade.
We all have tough days. If you find yourself "riding angry" or "rage riding" because of an off-bike life event or an on-bike conflict with a motorist, consider cutting it short. We're not talking about a short adrenaline spike which can be normal and focusing. Rage riding occurs when you can't calm yourself down and keep dwelling on an incident to the point of distraction. Rage riding is very dangerous. You can become aggressive and make choices that endanger your life, like blowing a stop sign or red light, riding too fast for conditions, or challenging a car for road dominance. Take a break and live to ride another day.
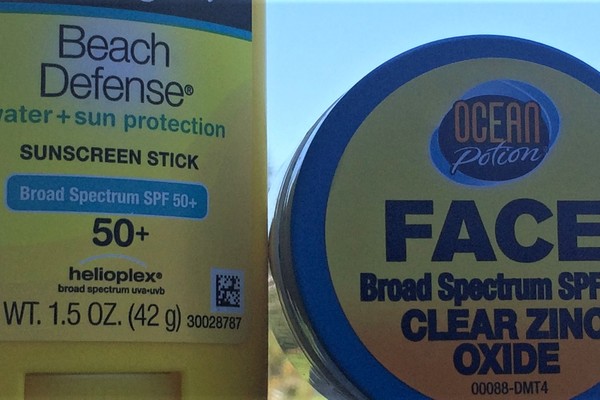
Besides protecting against skin cancers, sunscreen has been proven to help your body stay cool, thereby making your ride more efficient. Just because you’ve developed the “cyclists' tan” doesn’t mean that you can skip the sunscreen. Choose some goo with at least SPF 45. Also, some cycling jerseys and bibs have built in sun protection. Read those labels and shop well. BTW chamois cream doesn’t count as a sunscreen substitute.
Here are three tips to help you beat the heat while training.
As hilarious as this sounds, many athletes struggle when challenged with an "Easy" ride. Taking it slow when you are used to speeding along and pushing for that KOM or PR, can be difficult. If you’re even slightly competitive, it’s hard to watch as a kid on a skateboard or senior citizen in a power chair leaves you in the dust. Easy training rides are an important part of any training plan. They are designed to help you either recover from more intense training or warm you back up after a day or two off. The key is to approach the problem with a different mindset. When your training plan calls for an "Easy" ride, you should celebrate. This is your chance to explore nature or your neighborhood, grab an early-mid-late-ride coffee, and stop and watch dogs frolic at the local park. There are some simple ways to help prepare to “take your bike for a stroll.” First, avoid wearing your full aero kit. Wear street clothing instead. Second, leave your racing bike at home and ride your commuting or gravel bike, if you have one. Finally, put your cycling computer in your pocket or at least dim the screen. If you can’t imagine riding without data, then challenge yourself to keep your heart rate in Zone 1 (50-60% of max) and your power output to 100 watts or less. If your training load (TL) comes in higher than 15 for your easy ride, you went too hard.