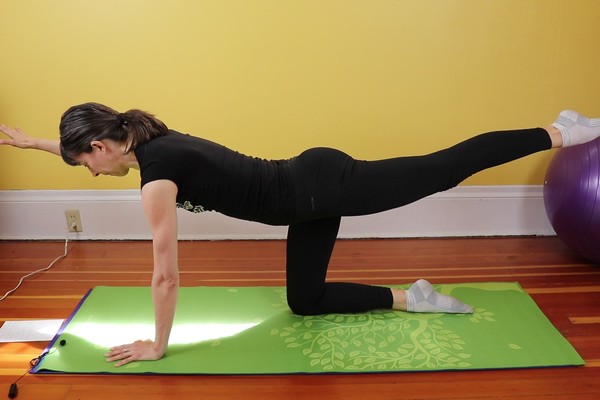
Don't. Stretching cold is a recipe for a pulled muscle. Each training workout should include a "Warm Up" interval of 10-15 minutes that slowly wakes up your muscles for the demand of more strenuous riding. Don't skip the warm up! Always stretch after you ride. Everyone has different body mechanics and therefore, different stretching needs. Common stretches for cyclists focus on quads, hip flexors, hamstrings, calves, the back, and shoulders. Make sure to gently hold each stretch for at least 40-60 seconds for maximum benefit. No bouncing! Consult an expert for proper technique. Click here for a video from our friends at GCN on 5 good cycling stretches. If you experience frequent muscle strain or pain in your knees, hips, back or shoulders that a good bike fit does not resolve, consult with a physical therapist. A physical therapist can create a custom stretching program to addresses your problem areas and greatly improve your comfort and flexibility on the bike.

Life happens. Travel, schedule changes, illness, weather, kid’s soccer game, work deadline, family emergency—there are a million reasons why you may need to take a day or two off from training. In VeloPro, it is quick and easy to cancel a workout.
It is important to mark your days off on or before the actual date of the workout. This allows VeloPro to recalculate your training plan and individual workouts, so that you stay on track for your goal. If you change your mind later or your schedule frees up, you can always add cancelled workouts back to your plan by following the same process.
Please note that you cannot retroactively take days off or add a workout back to the calendar after the day has passed.
If you miss a workout or do not upload a ride for that day, VeloPro does not assume you took the day off and adjust your plan. This is because many athletes upload rides several days after they workout due to travel, network connectivity or convenience. When you upload multiple rides at one time, VeloPro takes into account your actual training load versus planned training load and may adjust future workouts to ensure you reach your goal in optimal shape.
At VeloPro, we know you have a busy life and want you to succeed! That's why we've built our training system to dynamically adapt to you.
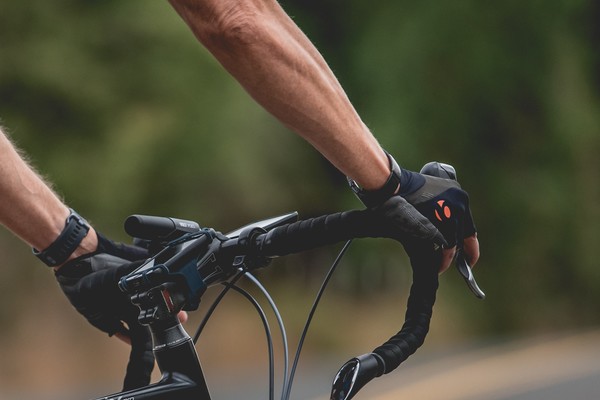
Numb hands are a very common cycling problem. The more aerodynamic your position on the bike, the more weight you transfer forward from your saddle to your hands on the handlebars. Fresh bar tape and good cycling gloves can help reduce fatigue. Avoid doing the "white-knuckle death-grip" on your bars. Keep your shoulders and hands as relaxed as possible. Wiggle your fingers occasionally to rest your hands. Regularly adjust your hand position from the tops, to the hoods, to the drops. Your brake levers and shifters should be easy to reach from the hoods and the drops. You may need to adjust your bars for proper bike fit. Bars that are slammed too low or too far forward may look cool, but could be the issue. If you find your elbows are locked and arms straight instead of extended in a friendly handshake position, your bars likely need adjustment.
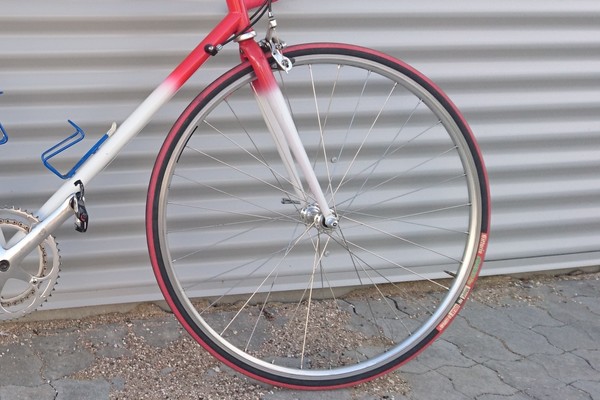
A common mistake is to run one's tires in an over-inflated state. The idea being that the "harder" a tire is, the less rolling resistance it has. In fact, that is not the case. The goal is to avoid pinch flats while reducing road buzz. Most people don't know that pinch flats occur not only when tires are under-inflated, but also when they are over-inflated. What do you do? Inflate your tires to the lower or middle PSI range recommended on the side of your tire. Just to the point where they can absorb small imperfections in the road surface, but no more. This is faster, more efficient and more comfortable. If you are a Clydesdale or Athena rider (over 200 lbs), you may need add an additional 10 PSI.
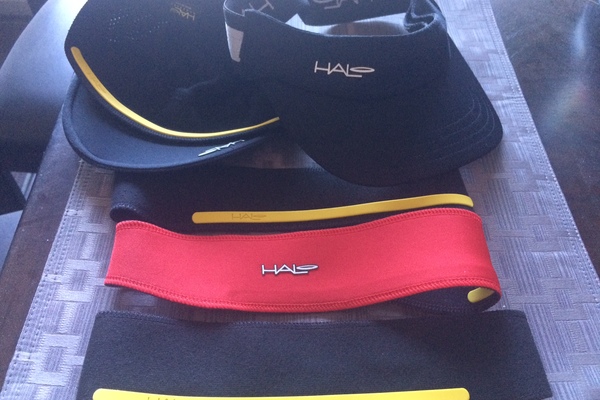
When you are cycling or training there's nothing worse than sweat rolling into your eyes. It is painful and worse it can be dangerous. Losing vision when drafting or on a 40 mph descent is a recipe for a crash. So, what can you do? The truth is that there is no common solution that works for everyone. You may have to try several things before you find the solution that works for you. Here are a few quick ideas to experiment with.
Interval training is as an important part of many training plans. Because of the intense demand they place on your body, intervals done correctly can help you make big performance gains. They can also greatly increase your risk of injury. It is important to understand what kind of intervals you are doing. Most endurance training plans call for LT (lactate threshold) intervals. Racing plans may call for the more intense VO2MAX intervals. LT intervals are designed to put steel in your legs to prepare you for tougher parts of a ride like hill climbs. VO2MAX intervals are designed to increase your heart rate to supply the maximum amount of oxygen possible to your muscles for huge bursts of power. Both types of intervals can be stressful on your body and bike.
If your plan calls for intervals, make sure you are prepared. Intervals are guaranteed to exacerbate any issues you may have. Do not do intervals if you have a nagging injury. Do not do intervals if you have any outstanding bike maintenance issues. Avoid doing intervals in excessive heat. Do not do intervals if do not have a safe place to do them. Doing intervals on a multi-use bike path with kids, dogs, and slow riders is a recipe for disaster. Also, do not do intervals on busy city streets. Interval training should not be an impromptu alleycat race where you risk your life. For increased safety and control, consider doing intervals inside on a trainer. Be very wary of doing intervals more than once a week. Your body needs sufficient time to recover from these extreme efforts.
One final word; do not get carried away and forget your technique. Focus on the maximum effort you can maintain with proper technique. This will help you reduce chances of injury.
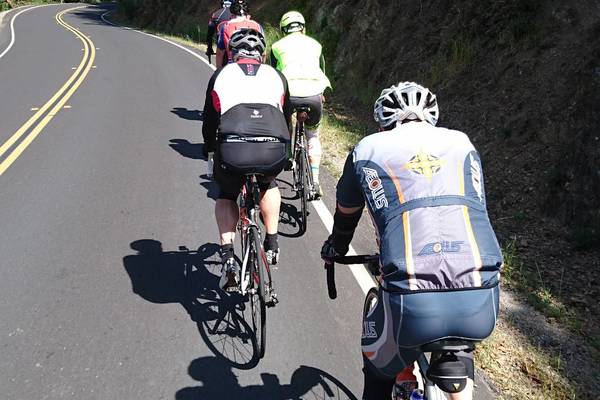
This sounds simple, but don't be a road zombie! Remember to look ahead. On group rides it is easy to settle into a rhythm and get fixated on the wheel of the rider just in front of you. Remind yourself to frequently look up the road and take cues from what's happening there. Movements at the front are often magnified down the line. If you are not paying attention, you can miss hand signals that point out pavement issues and road furniture. You can also miss abrupt changes in speed that can send you crashing into the riders in front of you.

Downshift before you stand. If you are in too big of a gear, you can blow out your legs or injure your knees. Depending on your brake/shifter placement, shifting while standing can be difficult. When rising out of your saddle on a road bike, place your hands on the horns for stability. Keep your weight forward and use the time out of the saddle to stretch your legs. Keep a moderate cadence. This is not a sprint. If it is a long hill, limit your time standing. You can spike your heart rate. If the grade of the hill is very steep, you can pull against the bars and use your upper body for extra leverage.
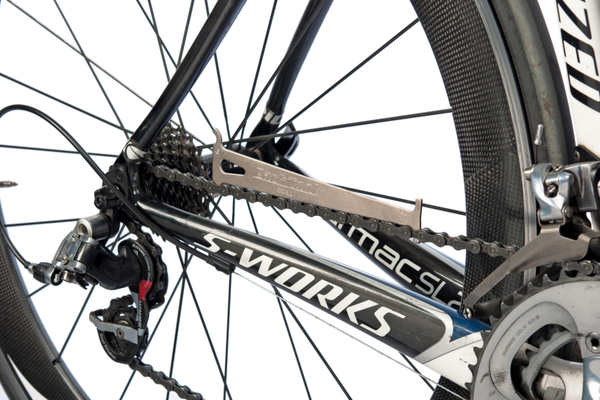
Chain replacement is an important part of keeping your bike running smoothly and shifting well. You can lose precious watts with an inefficient drive chain. You’ve earned those watts, don’t give them away for free. When a chain is worn, it will measure longer than 12 and 1/16 inches (30.6cm) between pins along the bottom. You can measure this with a ruler or invest a few dollars in a simple chain checker tool like the Park Tools version in the picture. We love you Park Tools! You should check your chain for wear at least every 500 miles. Chain wear can vary based on your weight, riding conditions, and maintenance habits. If your chain slips under power or when shifting, this can be another sign. Give your chain a check today!

It sucks to show up after training for three months to your event only to find that you left your cycling shoes at home. It's downright embarrassing to forget your event credentials. It's more humiliating to forget your helmet and not be allowed to ride at all. Avoid the hassle by putting together a checklist of everything you'll need on the day. Don't forget the chamois cream, it's totally gross to borrow someone else's DZnuts.